Leveling Up Your Spin Class: How to Teach Advanced “Corners” Choreography
The modern indoor cycling room is more than just a place to sweat; it is a stage, a sanctuary, and a masterclass in mind-body connection. As rhythm cycling instructors, our job goes far beyond shouting out RPMs and resistance numbers. We are responsible for guiding our riders through a dynamic, music-driven experience that challenges their cardiovascular endurance while simultaneously testing their coordination and core stability.
While foundational moves like basic tap-backs and handlebar presses are essential, there comes a point where your regular riders crave progression. They want to be challenged. They want to feel like athletes dancing on the pedals. Introducing advanced choreography is the best way to keep your community engaged, but it requires precise cueing, deep biomechanical understanding, and flawless execution from the podium.
Today, we are breaking down one of the most effective, core-torching movements in the rhythm riding playbook: the “2 Up, 2 Back: Corners” combination. WATCH VIDEO
In the video breakdown above, watch how Ashley from Ride Cycle Club perfectly demonstrates this advanced variation. It is a masterclass in body control. If you want to introduce this to your own classes, here is exactly how to break it down, teach it safely, and keep your room moving as one unified force.
The Anatomy of the “Corners” Move
This choreography is an advanced variation of the standard “2 Up, 2 Back” movement. Instead of simply pulling the hips straight back over the saddle, this move requires the rider to utilize their obliques to drive their body weight diagonally into the back corners of the bike frame.
When executed correctly, this is an incredible core workout. Here is how the mechanics break down:
* **The Count and Setup:** The movement is broken into a four-count phrase. You pull yourself up to the handlebars for two counts, and then hit the back corners for two single counts (one and one).
* **Finding the Lead Leg:** Biomechanics are everything here. To keep the movement smooth and connected to the rhythm, riders must lean first into the leg that is currently leading the pedal stroke. If the left leg is driving the heavy downbeat, the first diagonal lean to the back corner should be to the left.
* **The Oblique Drive:** This is not an arm movement; it is a core movement. As you push back, you must consciously engage the core and lean into the obliques to drive your hips back and back.
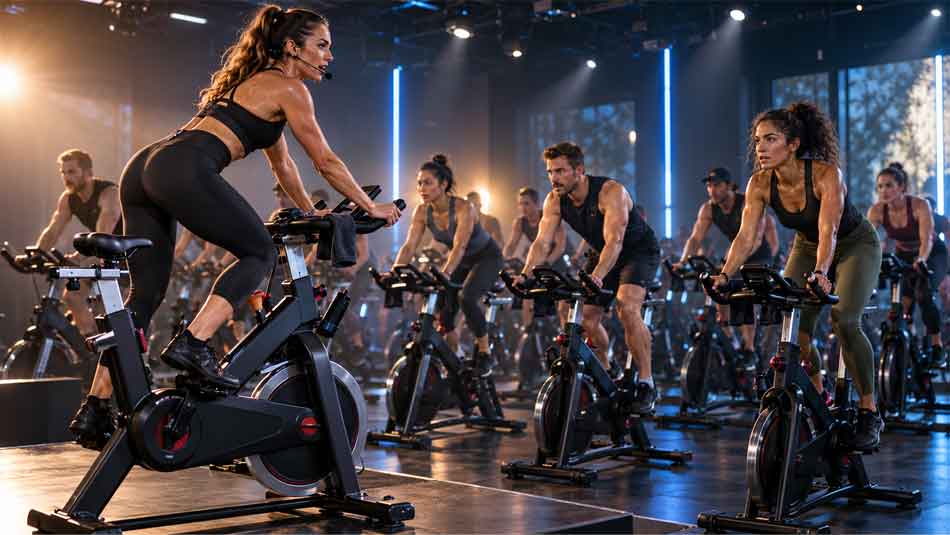
Addressing the “Wobble Factor”
One of the biggest hurdles instructors face when teaching advanced choreography is rider hesitation. When people move diagonally on a stationary bike, they often feel off-balance.
As Ashley brilliantly points out in the workshop, your bike may actually move or shift slightly during this heavy, dynamic movement, but that is perfectly okay—don’t freak out. It is incredibly important to reassure your room. As an instructor, you must vocalize that feeling of instability before your riders have time to panic.
Tell your class: *”You might feel the bike shift beneath you. Lean into it. The bike is never going to move because we are moving back so fast.”* Acknowledging this reality breaks the tension in the room. Remind them that you are there to have fun, and that stepping outside their comfort zone is exactly why they clipped into the pedals today.
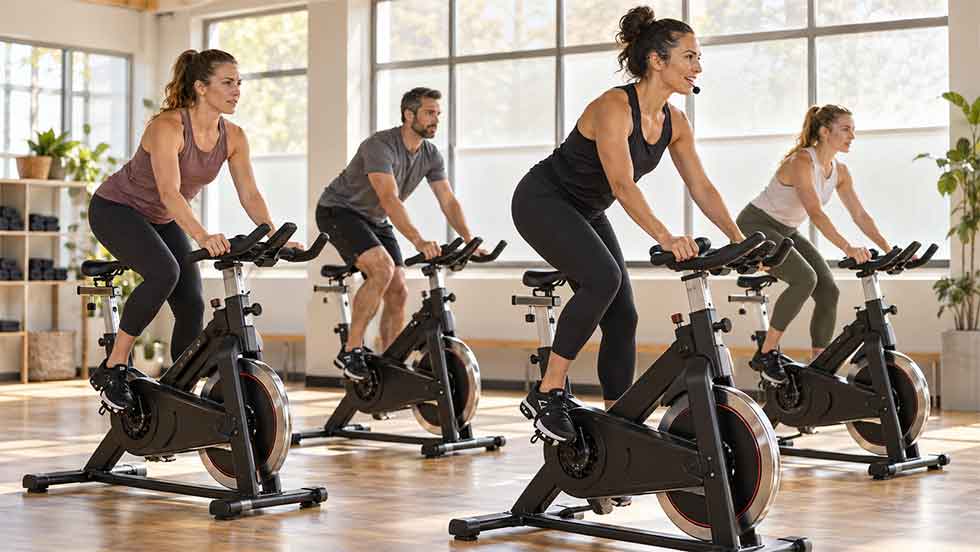
How to Cue This in a Live Room
You can have the most beautiful form in the world, but if you cannot cue the movement clearly over a booming 120-BPM track, your riders will be lost. Advanced choreography requires sharp, rhythmic vocal cueing.
1. **Preview the Move:** Never surprise your room with a complex combination. During a seated flat or a steady climb, verbally explain what is coming. *”Team, in 30 seconds, we are adding our corners. Two counts up to the handlebars, and then we drive our hips to the back corners on the single counts.”*
2. **Establish the Anchor:** Call out the lead leg repeatedly. The lower body must be on autopilot before the upper body starts moving.
3. **The Rhythmic Countdown:** Use the music to dictate your cues. Try mirroring the exact cadence used in the video: *”Bring it up, up… single, single!”* Keep your words punchy and right on the beat.
4. **Check the Engagement:** Once the room is moving together, stop cueing the directional movement and start cueing the physical sensation. Ask them directly: *”Do you feel it through your core?”* Remind them to keep their shoulders dropped and to initiate the push-back directly from their obliques.
When you teach riders how to connect their physical power to the rhythm of the music, you elevate the entire studio experience. They stop thinking about how tired their legs are and start focusing on the empowerment of nailing a complex flow.
If you want to dive deeper into the science of rhythm riding, perfect your musical mapping, and learn how to command a packed room with absolute confidence, our **Master Rhythm Cycling Instructor Course** provides the ultimate blueprint. For just $97, this comprehensive, English-language certification will give you the exact tools you need to build your brand and lead the pack. Click the link in our menu to enroll and start your journey today!